- Log into the Amazon WorkMail Client (link)

- Navigate to the organization tab
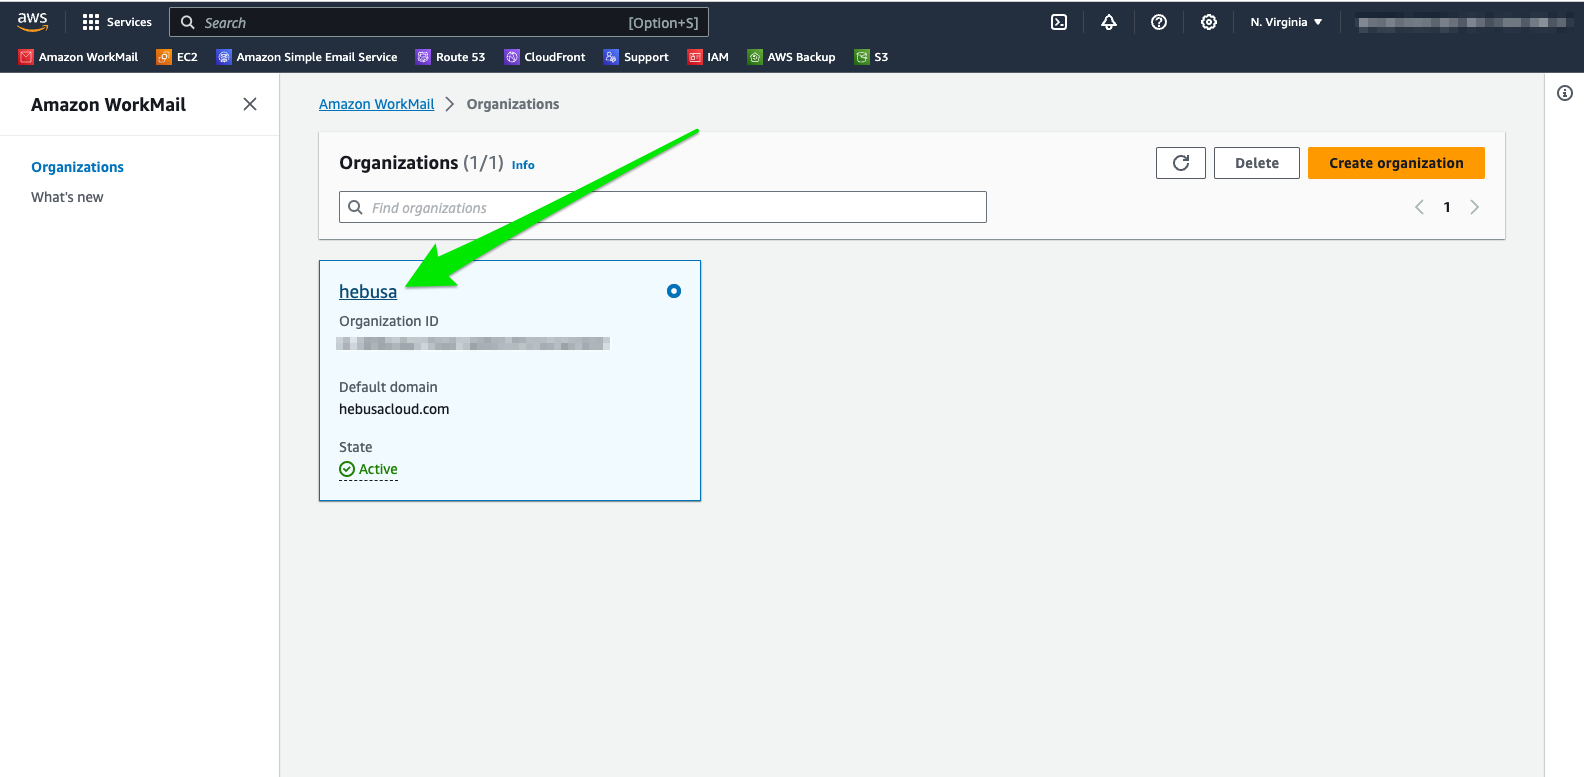
- Click on the link indicated by Article 1 in Figure 1.1

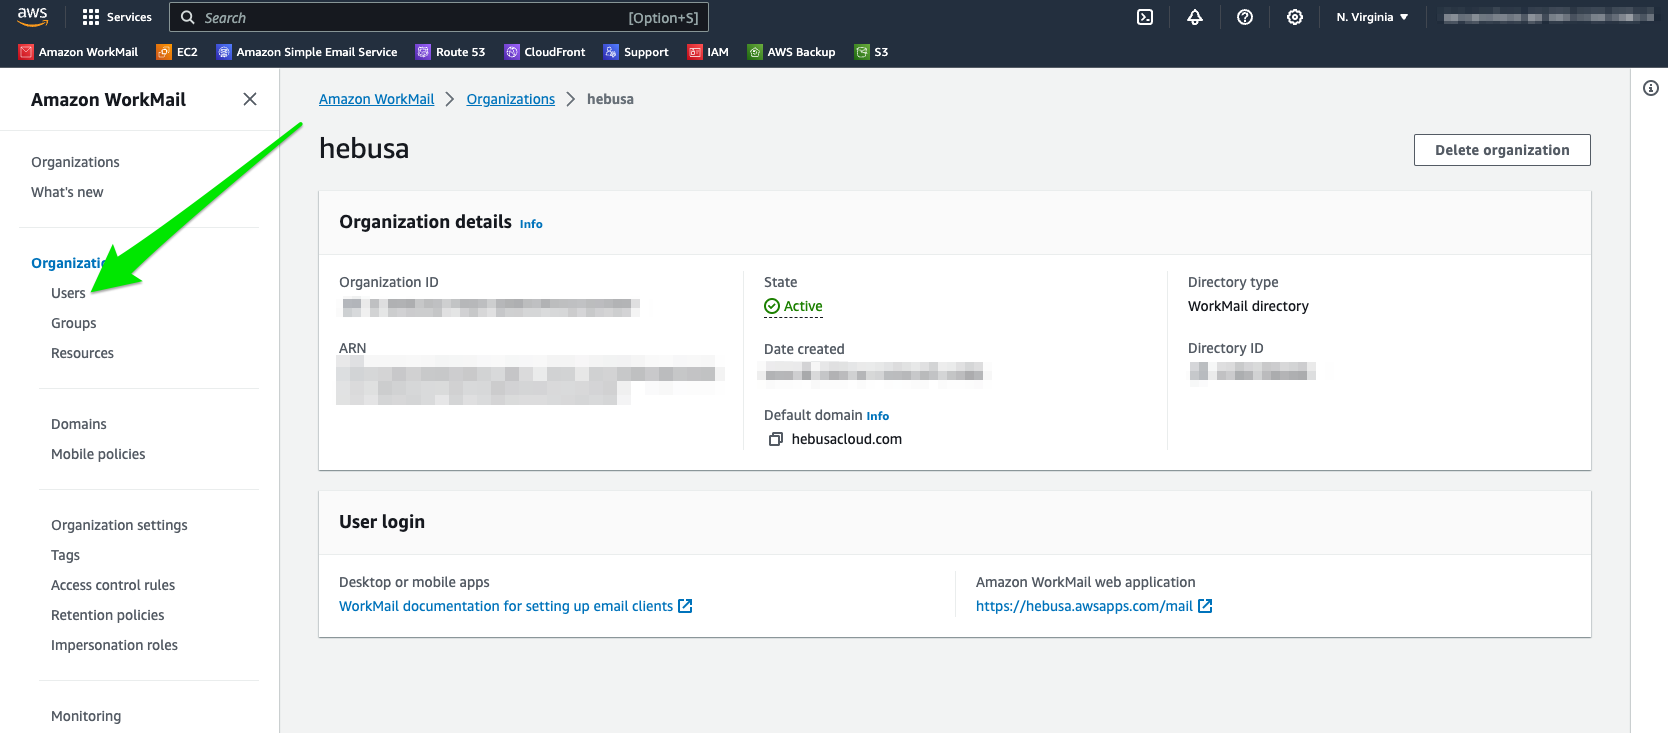
- Proceed to click on the “Users” link as indicated in Figure 1.2 with a green arrow
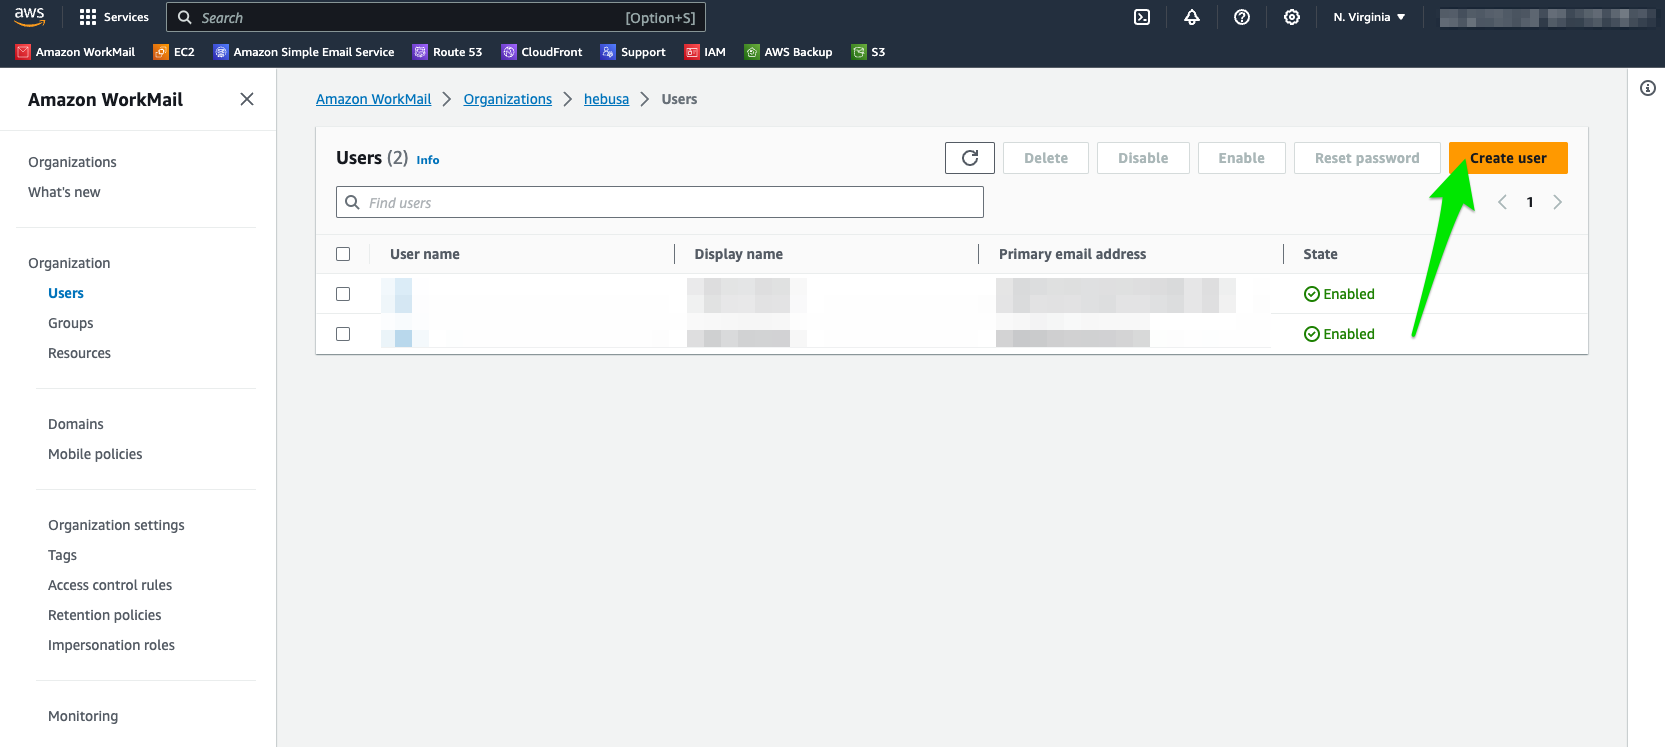
- Upon entering the “Users” section of the organization, click on an orange button stating “Create User”(as indicated with a green arrow in Figure 1.3)
- The link on the previous page will take you to a form, that allows you to set up your mailbox, such as creating a username and choosing a password(the form is shown in Figure 1.4)
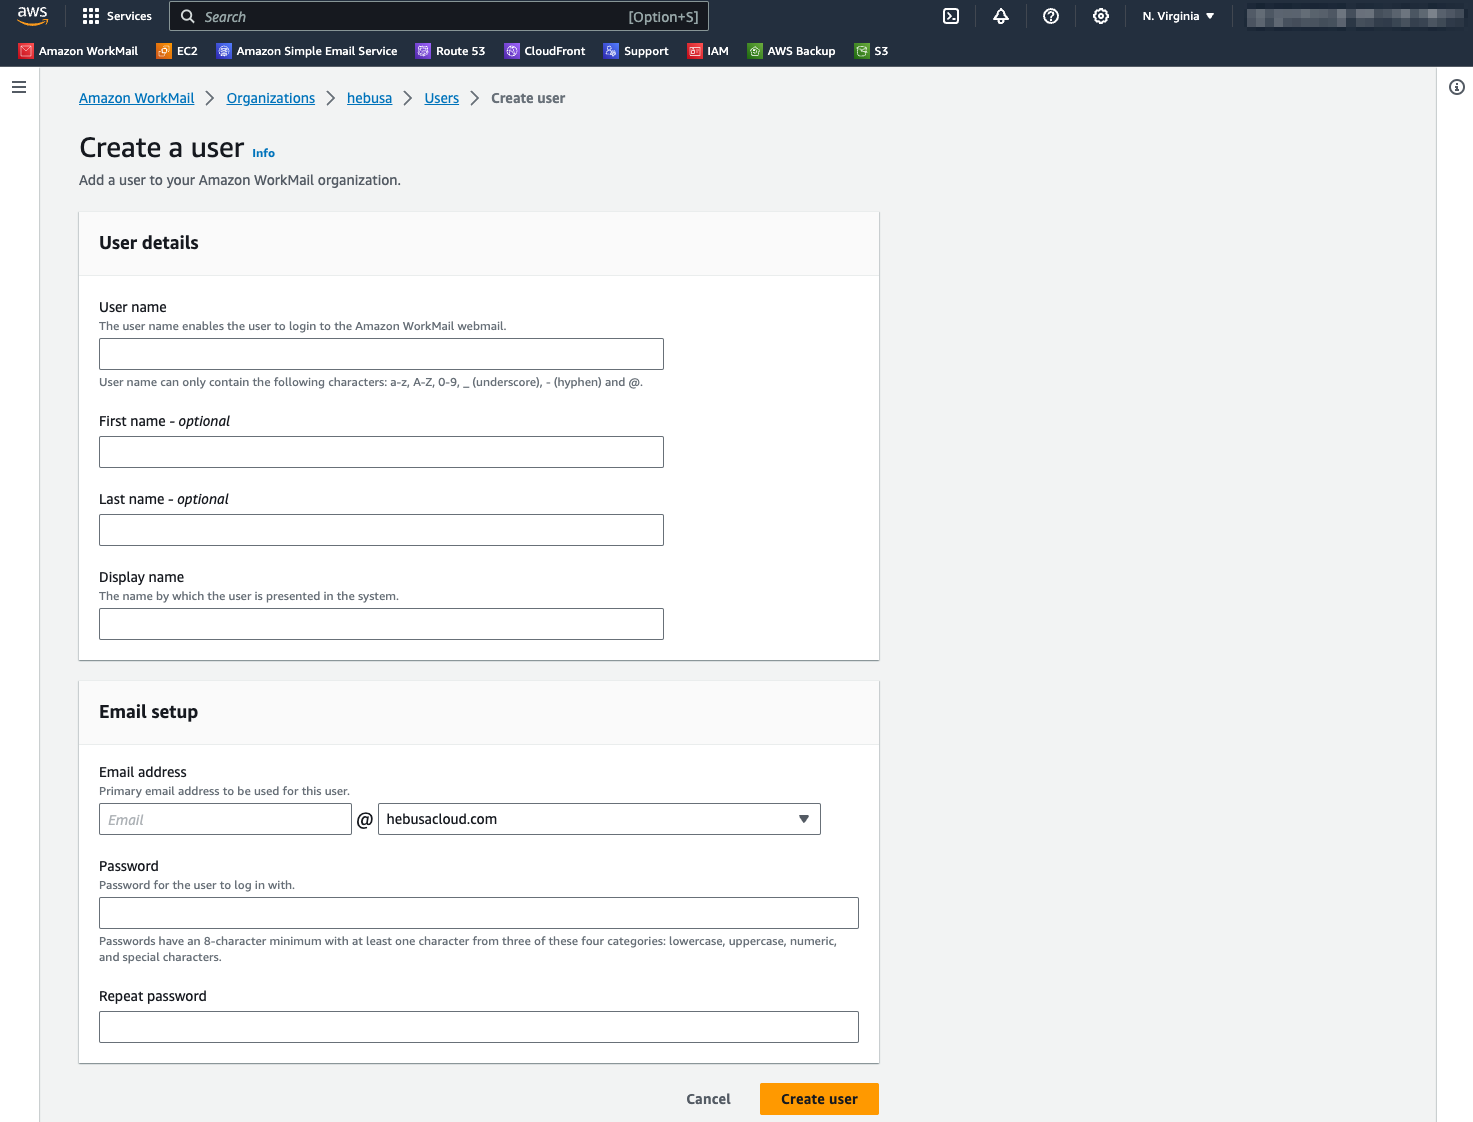
- Enter your desirable username, first name, and password that are going to be associated with your personal mailbox
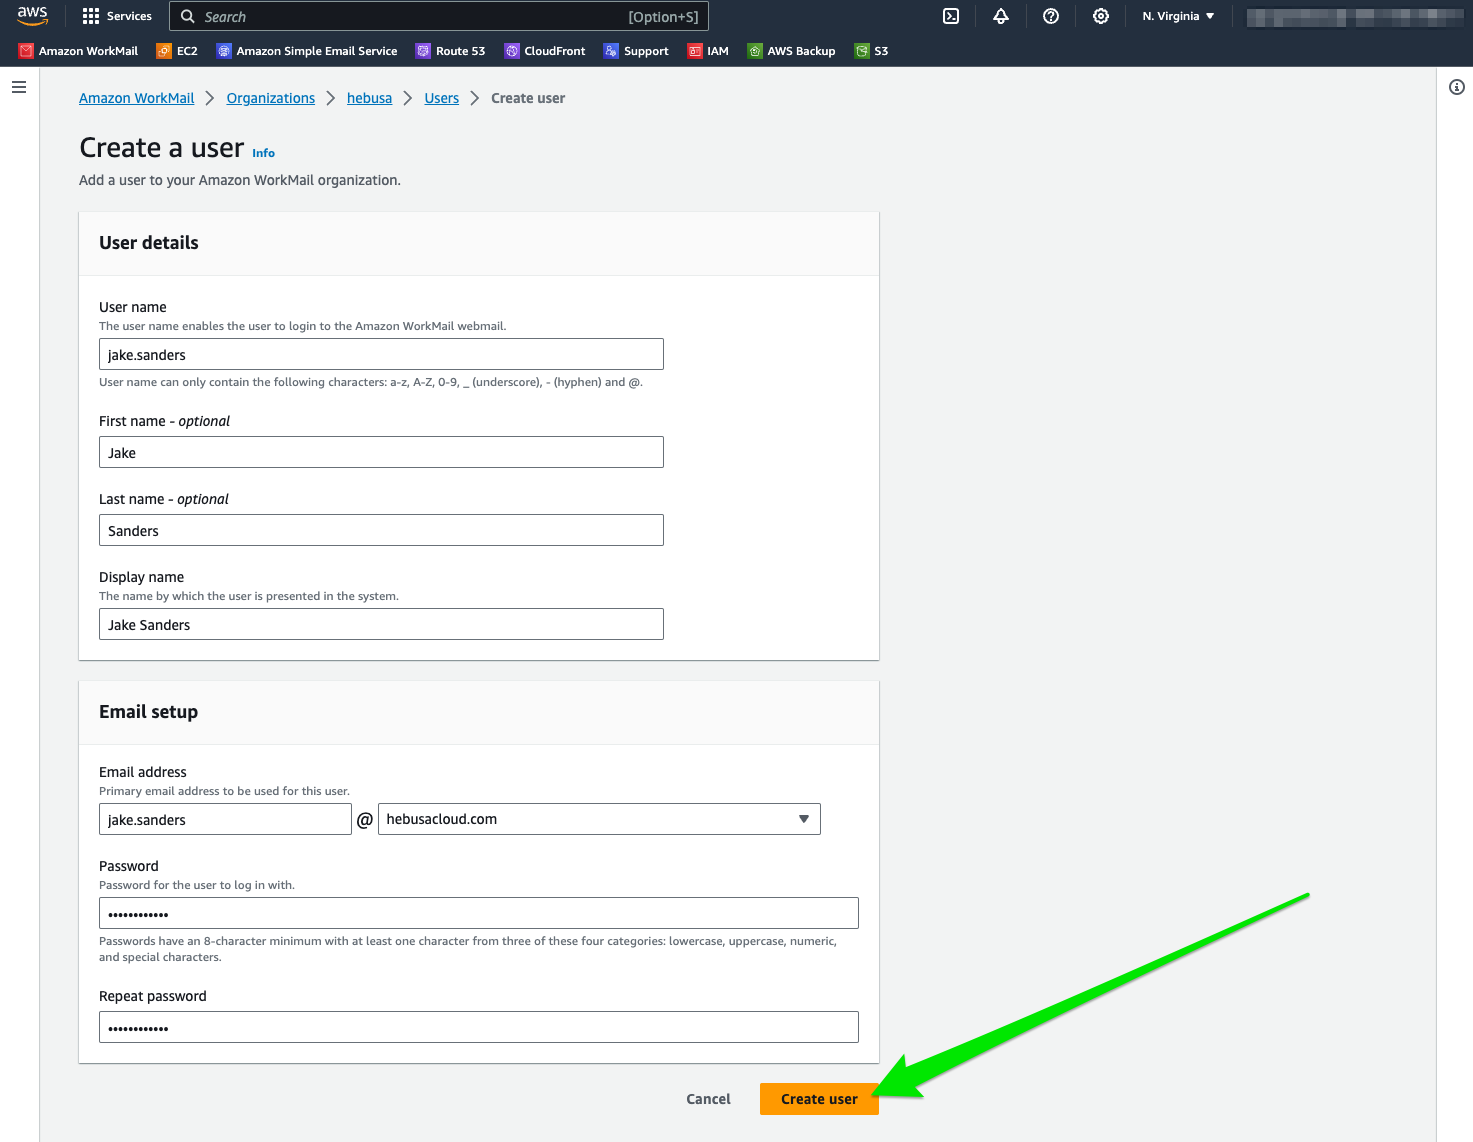
- Upon finishing the previous step, click on the Create user button, shown in Figure 1.5 with a green arrow
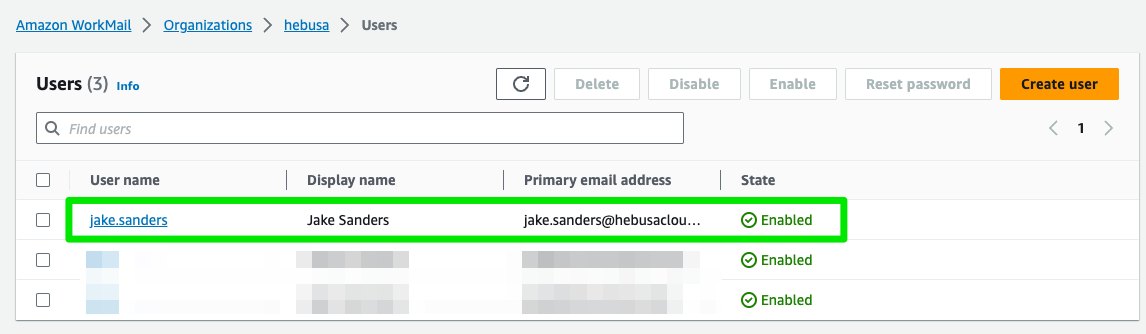
- If everything goes according to the instructions stated in steps 1-9, you will see a green message alert at the top of the screen, saying that you have created a mailbox with your username there. You should also see your email in the list of users.
- Congratulations! You have successfully set up your mailbox with Amazon WorkMail
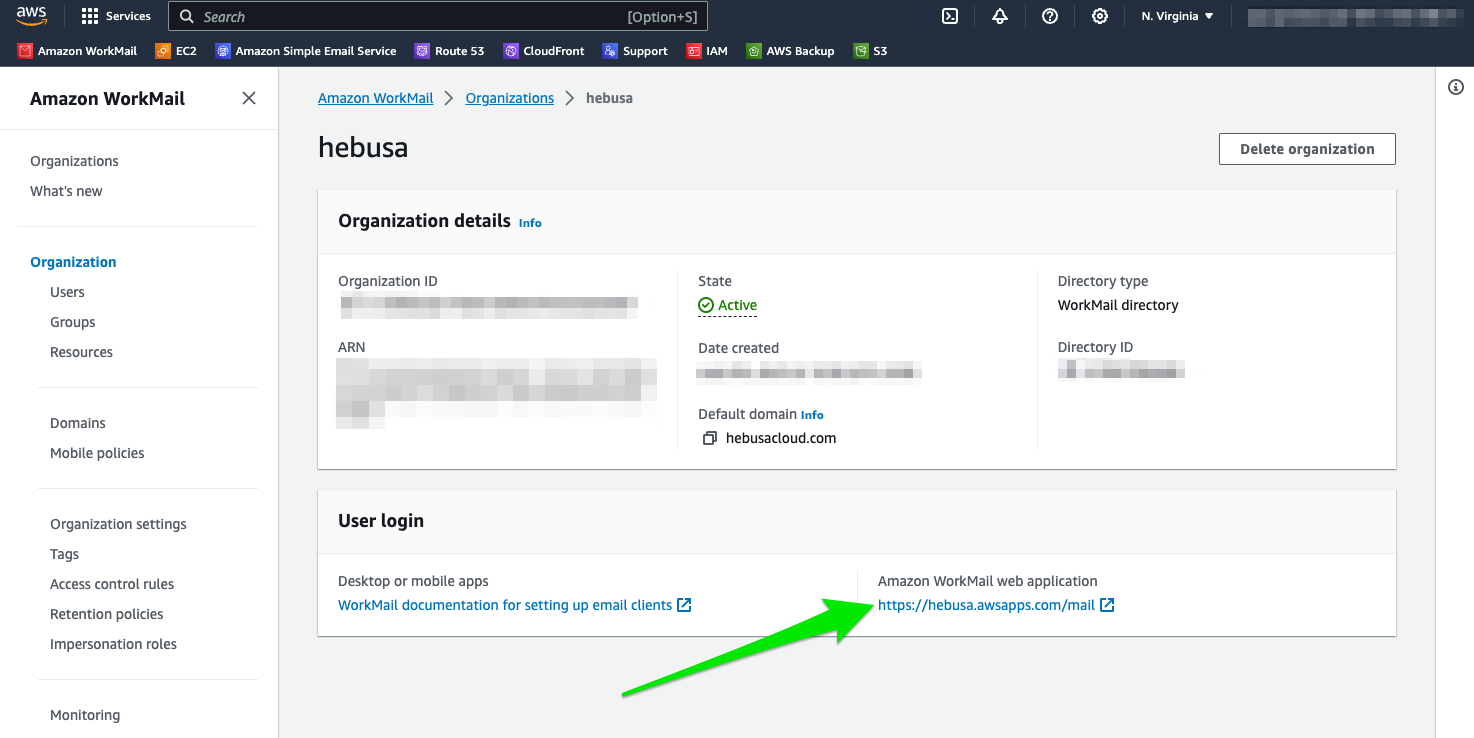
- In order to access your mailbox, click on a link pointed at by the green arrow in Figure 1.7 with your mouse
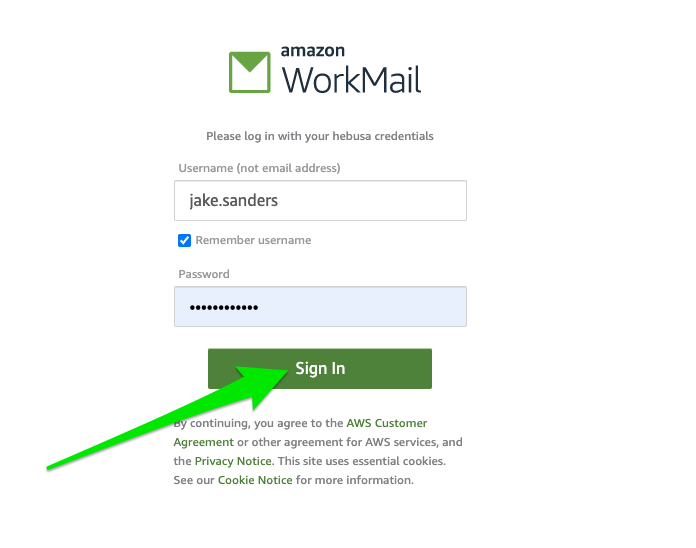
- The link will take you to the login screen, where you will fill out the username and password that you chose in steps 6 and 7
- Upon entering the information in the appropriate fields, click on the “Sign In” button indicated in Figure 1.8 by the green arrow
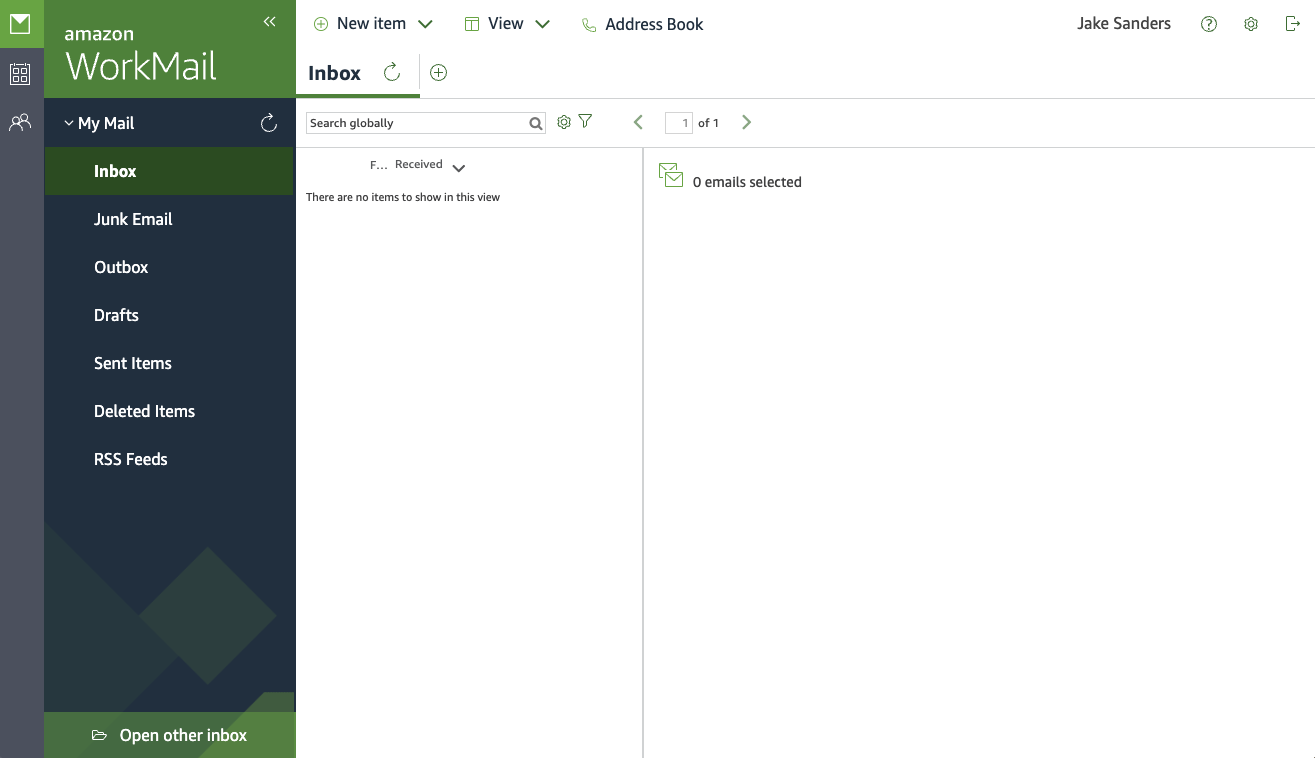
- Upon hitting the sign-in button, it will take you to the screen where you will see your inbox and other articles of information(an example of a screen is shown in Figure 1.9)